1.29.2014

Update On Tinted Mason Jars.


Remember these? 
I have been asked lots of questions about how they turned out  using the glass paint with no medium. AND if they can hold water without damage?
  So I did an update with photos.
Click HERE to find the new version.
 Once you get to the old post scroll down to the bottom to see the new update.
 

12.13.2013

DIY Inexpensive Mini Cloche

  
Christmas is right around the corner...
The countdown is on...
So here is a real quick, easy and inexpensive craft for you all.
 
 
 You can find these little votive candle holders at Walmart for around 50 cents -I've seen them at other stores too.
 
 
I purchased these cabinet door knobs at Walmart -They came in a two pack. I've seen them at Target and the hardware stores too.
 
 
 Grab yourself some E6000 glue...Once again, Walmart sells this glue as do all the craft stores, it's fabulous glue! 
 
 
It's embarrassingly easy.  Glue the cabinet door knob with the E6000 glue to the bottom of the bigger votive candle holder....Let it dry 24 hours~After that just sit the cloche on the small votive holder-Taa Daa!
The great thing about these cloches is that they can be used year round.
 
 
You don't have to use the mini cloche on the small votive holder, it's just as cute sitting on a pretty plate! 
 
 
Or you can buy yourself a fancy schmancy pier candlestick
(wood or glass)
 I've seen these anywhere from $1 to $6 ~
I'm using mine as table place holders. You can go cute or fancy with these. Fill them with small glass ornaments if you want to be a bit more classy.  
 
 
My granddaughter Noelle has already called dibs on the snowman!
 
Merry Christmas Friends.
 
 
Snowman Christmas Ornament-Target $1.00


12.04.2013

Bleach and Dye Bottle Brush Trees

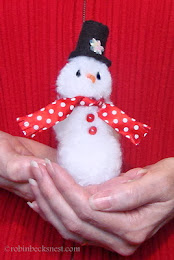
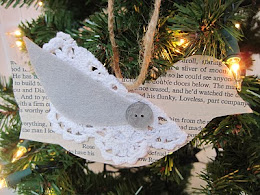
Here's a DIY tutorial on how to bleach and dye bottle brush trees...
The tree in this ornament is bright! I will show you how to dye the trees bright colors and also a faded more vintage color too.
First off you will need to get yourself some bottle brush trees-They come green and flocked. You can find them at Hobby Lobby, K-Mart, Michael's and Home Depot. I bought this 21 piece bag last year at Home depot for around $7. That was a really great deal that I have not seen offered this year-Thankfully I bought 4 bags!
Get a glass container... A small one will work if you are only doing a tree or two. I did a bunch of trees at one time so I used a real big vase.  Fill it with water and add a little bleach. The more bleach you use the faster your trees will lose their green color. Make sure to cover your work surface and work in a well ventilated area-Use rubber gloves. Tongs are essential for moving the trees around.
This bleaching process can take from 2 minutes to 15 depending on how much bleach you use.
I like to rinse my trees in a vase of pure water after the bleaching process.  
Here is one that stayed in till all the color was gone...It is completely dry and ready to dye. 
To dye the trees I used alcohol inks. I bought mine at Ben Franklin's but I've seen ink sprays in many craft stores.  Get yourself a small box and cover the bottom with a couple of paper towels. Stick your tree inside and spray away-Turning the tree to get it all covered.  It doesn't take very much at all.  
For bright trees: Spray and let them dry.
For a faded more vintage look: After spraying dip in water till you get the color you want-Let them dry.
Pictured above are trees sprayed and left as is -Very bright.
Below are trees that have been sprayed and instantly dipped in water-Faded.
Note: If your tree is still not as faded as you want dip it in the bleach water solution a couple of times.
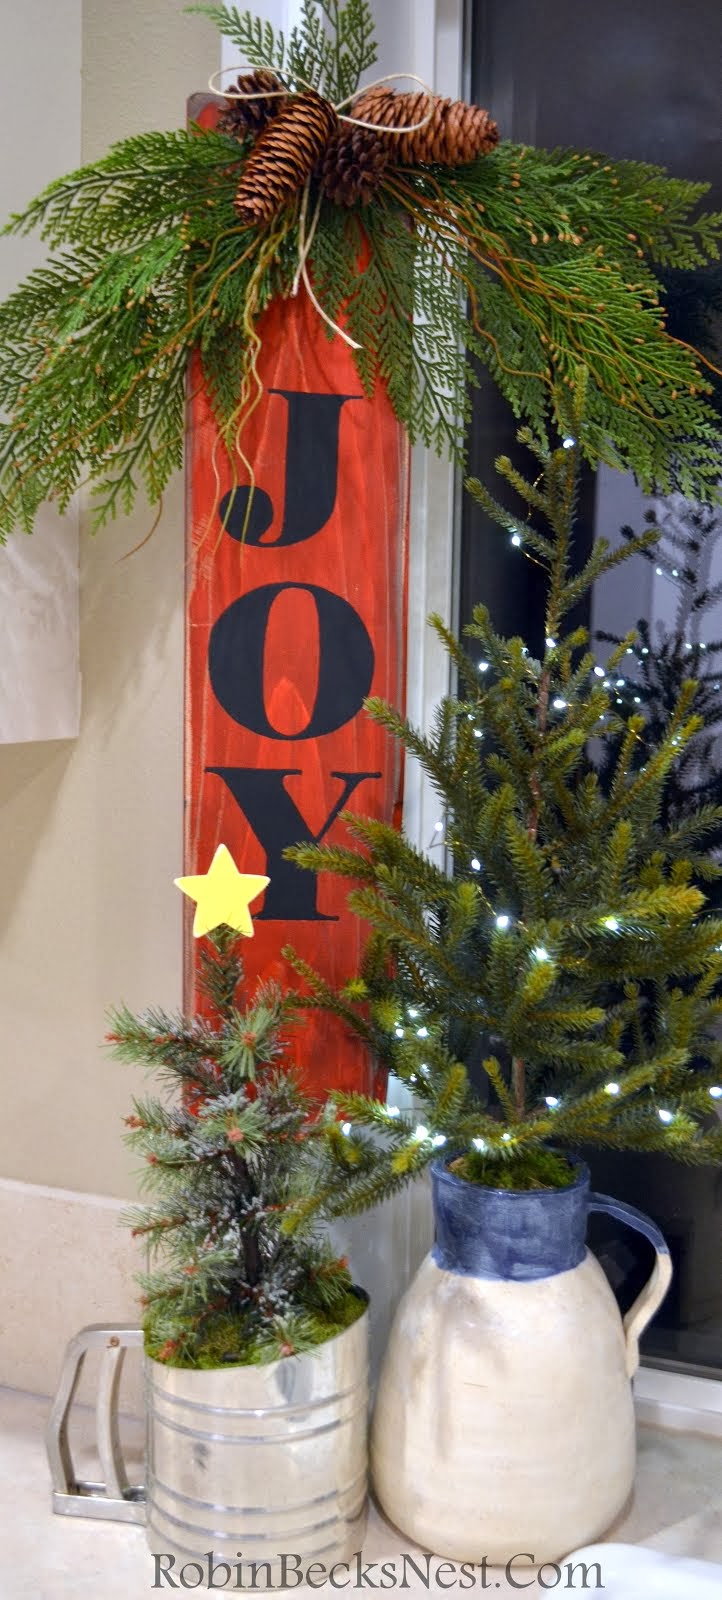
Now that you have your trees the color that you want, get busy crafting!
I had a Christmas craft party and we put the trees in glass ornaments with snow...
Here's how:
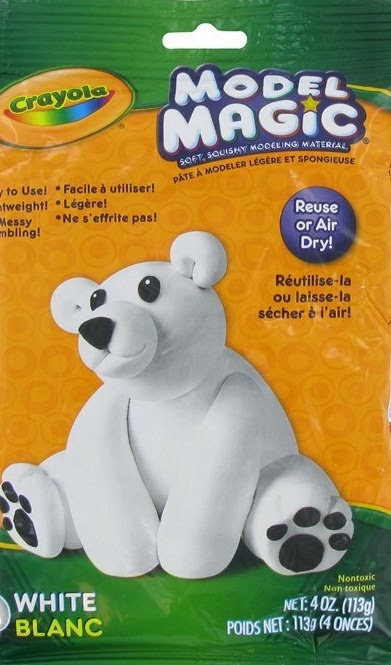
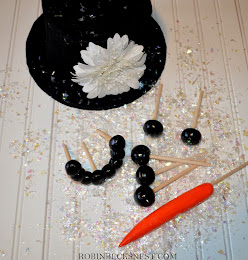
If kids are doing this I suggest using Crayola Model Magic clay as a base. Here I am using a drink stirrer to push the clay down. For adults you can use the clay or a thick permanent glue dot works great too. You will have to use wire cutters to cut the white base off the bottom of the tree so it will fit through the tiny top of the ornament.
Turn your tree upside down to get it into the ornament (not pictured)- Grab some long tweezers (Home Depot) and turn it around~ Push it into the clay where you want it.
 Straighten the tree, add snow and put the top of the ornament back on.
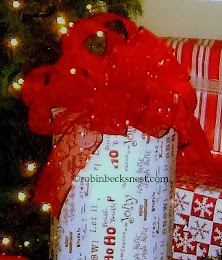
I added a little glittered paper star to mine and a tag made of grosgrain ribbon. I actually stamped the "Merry Christmas" on the ribbon by using clear embossing ink. After stamping the words I added green glitter embossing powder and went over it very gently with my embossing heat tool.

Have fun! 


12.02.2013

DIY Joy Sign

Anybody that knows me, knows I CANNOT paint.  I'm not kidding...It takes me 3 days to paint a wall that my husband can do in 30 minutes. Sadly, I am not exaggerating. But I AM a VERY determined person and when I saw that everyone was painting signs for Christmas I just had to jump in.
This process is super simple and acrylic paint is very inexpensive. 
If I can do this ANYBODY can! 


First off, find/buy a piece of wood the size you like. Paint it the color you want...After that dries, sand it up a bit to make it look older-Wipe on and wipe off a little stain to keep it looking older.


Next I printed out the letters for JOY~The great thing about this is you can pick the font and size that suits you. Tape them where you want them on your board.  The photo above shows how I'm leaving room for greenery on the top.


Pictured above you can see how I took a sharp tipped pen and outlined the letter-The softer the wood the easier this is to do. After this I used a small flat edge brush to fill in along the inside lines with black acrylic paint, being very careful not to go out of the lines. I used a regular round paint brush to fill the rest of the letters. 


Pictured above is what it looked like right after I painted it...If you would like a more rugged/older look take some sandpaper to it once it dries.  I tend to like this bold look.


I hot glued some artificial greenery to the top of it that already had pine cones on it. A little rustic twine bow gives it simple flair. I attached it to the wall with Command Velcro hanging strips so not to ruin my walls.


By my JOY sign I placed artificial trees~One in an old flour sifter, the other in a vase made by my son when he was in high school. The green floral foam pictured above is an excellent filler. You don't even have to cut it to fit if the container you are using has sharp enough edges. Just push it down into the container like you see in the photo above.


Add an artificial tree and some moss around the bottom to cover the floral foam.


I added a little wooden star to the top of the tree in the sifter and battery operated lights to the other tree.
I put this in my kitchen by my sink so that I see it often and it brings me JOY.


Wood Board: Home Depot
Acrylic paint: Michaels
Artificial Christmas trees: Michaels
Battery operated lights: Michaels
Wooden star: Michaels
Command Velcro hanger: Michaels
Floral foam: Walmart
Moss: My backyard.


11.23.2013

DIY Snowman kit

Here's a fun craft you can make with your kids...

Mr. Snowman.


We made ours with Crayola Model Magic because it's nontoxic and easy for kids to mold...You can use any air drying clay though.
 
 
Here we have the eyes, buttons, mouth and nose shapes. We made ball shapes for the eyes and buttons and put them on wood dowels that you can buy in a bag at craft stores or even Walmart.
For the mouth we made smaller ball shapes and stuck them together-To keep their shape while drying we put the mouth between two glass vases. For the nose we did our best to shape it to look like a carrot. Let it dry for a few days to a week...Keep in mind while making these that the clay does shrink a little!
 
 
After the clay dries paint it with acrylic paint... After that dries paint a layer of outdoor Mod Podge to protect the paint from the weather.  It will feel a bit tacky but it really works!
 
 
Here is the finished kit.  To make the hat I cut a circle out of cardboard and covered it with black felt. Next I covered a big can in felt and hot glued it to the circle. Lastly I added an artificial flower to the front of it. 
 
 
 If the hat seems like too much work, buy one like this at Michaels.  I've seen them at Hobby Lobby already painted or you can add any kind of hat or stocking cap....Don't forget to bring a scarf too!
 
 
Making the snowman kit is fun... Putting the snowman together is even more fun! It makes a great prop for Christmas photos too!
 
 
Merry Christmas banner: Target 


1.13.2013

Boxwood Wreath

 
I really enjoyed the wreath on my front door this Christmas.  It was hard to take it down, the door looked so empty and sad without it. 
 

 So I got out my trusty grapevine wreath, it's the base for many of my wreaths.


I had some leftover boxwood from my daughter's wedding. I bought them at JoAnn's. They were originally $2.99 each but they had them at 50% off AND I had a 20% off total purchase coupon.  It took 10 to make this wreath.  
(14" plas boxwood bush 67 L GR-ZBB068-GR)


 I just layered and tied them down with some wire so the boxwood wasn't permanent. 
 

 You can see in the photo above how I layered the bushes. Needle Nose pliers are essential for tying the wire tight in the back. 


 Here is the finished project, very fast and very simple.  I personally love it without anything added to it.


 Though I may add a red or pink heart for Valentine's day. 
(Glittered foam hearts come in a bag of different colors for $1 in Target's dollar bin)


Come springtime I'll probably add my signature Robin's nest. See how to make eggs HERE.
There are many possibilities that could be added for different holidays~Have fun with it!

12.11.2012

Christmas Photo Ideas


A couple of weekends ago, we grabbed our granddaughter, our 2 youngest kids and their spouses and headed for the snow at Crystal Mountain.  All the kids made a snowman and left him undressed/undecorated.  So I got busy dressing him with a snowman kit I made out of air dried clay and felt. The Merry Christmas banner was bought at Target in the party section...I re-glued it onto my own ribbon.
 
Here are some photos I took of the kids and Frosty.

Pictured: My daughter Ronnie with her husband BJ and of course our granddaughter Noelle.


Here my son and his wife Karina are messing around once again, well, Karina is messing around WITH Frosty!
It was really snowing up there.


I made this JOY sign out of big letters bought at Joann's. The "O" is actually a red tinsel wreath that can be purchased at Target, Home Depot or Walmart in various colors. I wrapped red tinsel rope that I bought at Target around all the letters including the "O" so it would match the others.  I didn't even bother painting the letters first...I just attached the tinsel rope with heavy duty glue dots here and there.


Cute Kids!


Remember our Christmas tree HERE that we made out of sand? Well, we HAD to make one out of snow too! I bought the ornaments at Target in their dollar bin.  The star was also bought there but sold with their miniature trees.


It won't surprise you that this is one of my favorite photos... She had been sledding and playing in the snow and was covered in it.  I brought a baggie full of fake glittery snow and put it in her hands, she huffed and puffed and blew the snow out! It was fun for her and made a great photo to put on our Christmas cards.


I couldn't leave without posting a photo of my husband and I-This was taken at the very end of the day, we were drenched but still having a great time.


My daughter in law took this shot of the whole scene and posted it on Instagram...By the way, you can find me on Instagram HERE or just search robinbecksnest. You will see there that I HAVE been crafting!
 Yes, I will blog about it all soon!